Master the Art of Cookie Making: A Step-by-Step Guide to Perfect Cookies Every Time
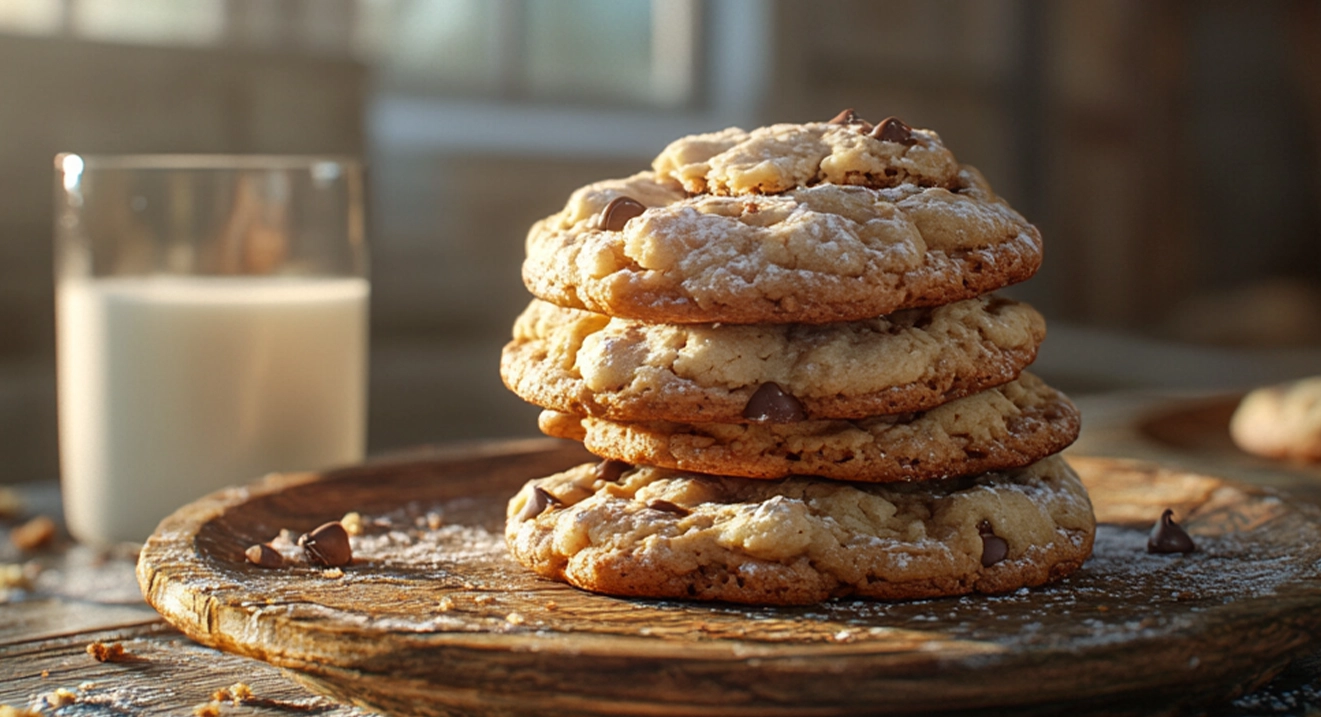
Introduction to Cookies Making
Importance of Mastering the Basics
Mastering cookies making is more than just learning a recipe; it’s about understanding the fundamental techniques that can transform simple ingredients into delightful treats. You can customize flavors, textures, and designs to suit any occasion by grasping the basics. Whether you’re a beginner or a seasoned baker, a strong foundation ensures consistent results and opens the door to endless creative possibilities.
Why Cookies Are a Timeless Treat
Cookie hold a special place in the hearts of people around the world. Their versatility, ease of preparation, and comforting flavors make them a go-to dessert for all ages. From classic chocolate chips to festive holiday designs, cookies are adaptable to any theme or celebration. They’re a sweet indulgence and a way to share love and warmth, making them a timeless treat cherished across generations.
Step 1: Preparing Your Ingredients
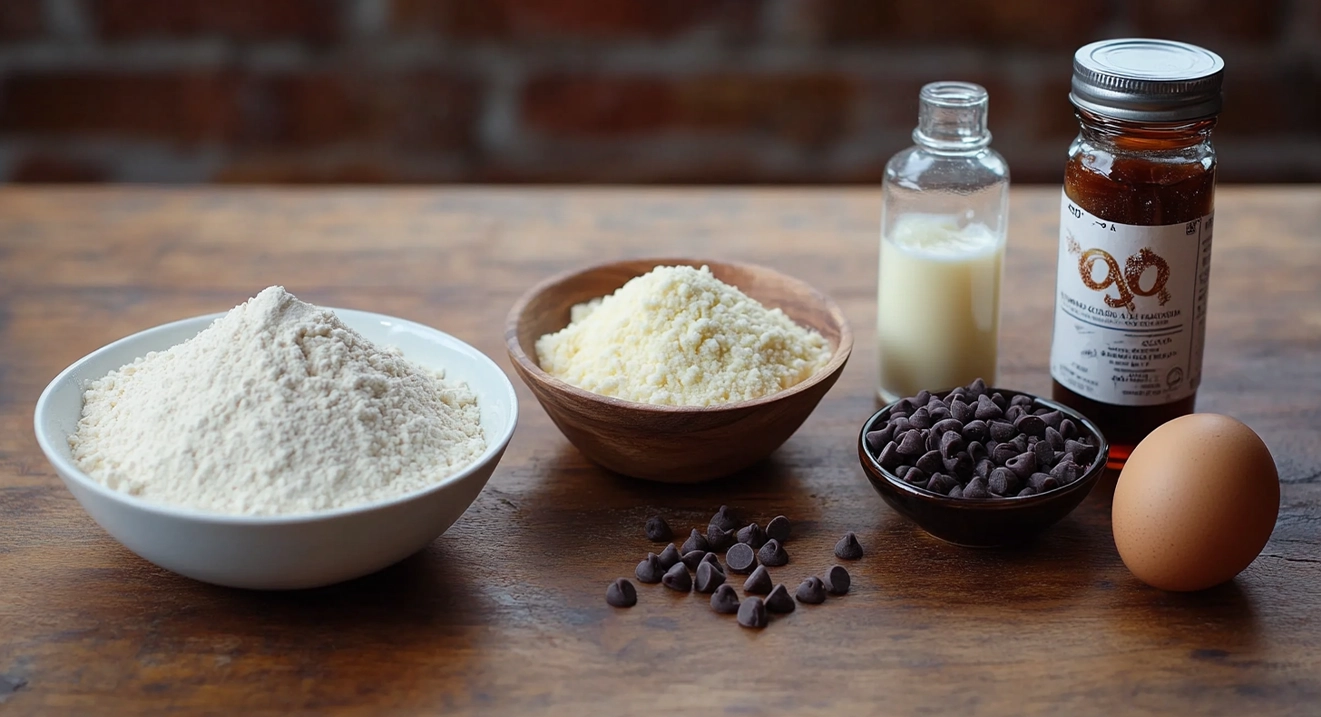
Understanding the Importance of Ingredient Quality
The quality of your ingredients directly impacts the flavor, texture, and overall success of your cookies. Fresh, high-quality butter, real vanilla extract, and premium chocolate can make a noticeable difference. Choose organic or minimally processed ingredients to enhance the natural flavors and bring out the best in your cookies.
Common Cookies Ingredients and Their Roles
- Flour is the backbone of cookie, providing structure and stability. All-purpose flour is standard, though specialty flours can be used for unique textures and flavors.
- Sugar sweetens the cookie and influences their texture. Granulated sugar results in crispier cookies, while brown sugar, due to its molasses content, adds moisture and chewiness.
- Butter: Creates a rich flavor and contributes to a tender texture. Room-temperature butter is key for proper creaming.
- Eggs: Bind the ingredients together and add moisture. They also help cookies rise slightly during baking.
- Leavening Agents: Baking soda or baking powder helps cookies spread or puff, depending on the recipe.
- Flavor Enhancers: Ingredients like salt, vanilla, and spices elevate the overall taste, balancing sweetness and adding depth.
Measuring Ingredients Accurately
Tools You’ll Need:
- Measuring Cups: For dry ingredients like flour and sugar.
- Measuring Spoons: For small amounts of ingredients like baking soda or vanilla.
- Kitchen Scale: For precision, especially when baking recipes, call for weights instead of volume.
Tips for Precise Measurements:
- Always spoon and level dry ingredients like flour to avoid packing, which can lead to dense cookies.
- Use liquid measuring cups for ingredients like milk or oil.
- Measure sticky ingredients like honey or molasses using a greased measuring spoon for easier release.
- Weighing ingredients on a scale is the most accurate method, especially for recipes that require precision.
Substituting Ingredients When Necessary
Allergy-Friendly Swaps:
- Replace butter with plant-based margarine or coconut oil for dairy-free cookies.
- As an alternative to eggs, use a flaxseed or chia seed “egg” (1 tablespoon of seeds mixed with 2.5 tablespoons of water).
- Substitute all-purpose flour with gluten-free flour blends or almond flour for gluten-free cookies.
Common Substitutions That Don’t Compromise Flavor or Texture:
- Swap brown sugar with coconut sugar for a similar moisture content and a slightly different flavor profile.
- Replace vanilla extract with almond extract for a unique twist.
- Use yogurt or applesauce as a partial butter substitute to reduce Fat while maintaining moisture.
Step 2: Mixing the Dough
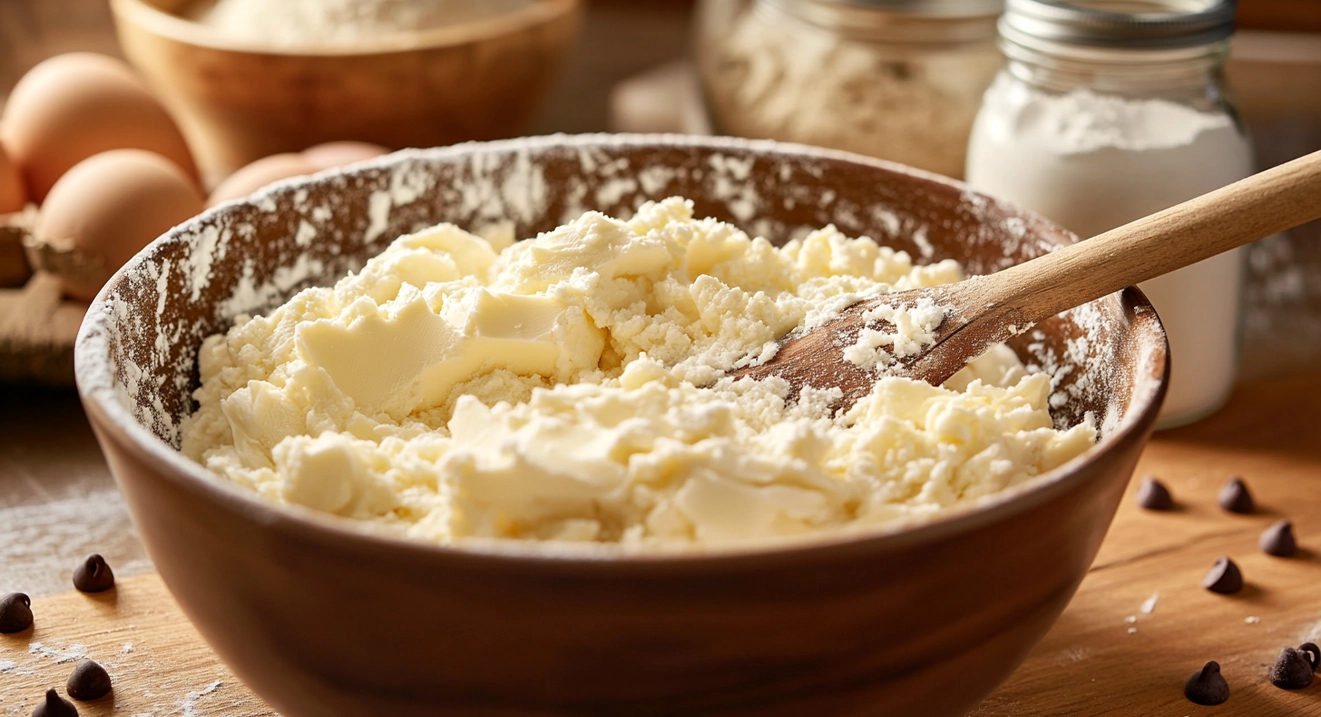
Overview of Mixing Methods
The mixing stage is crucial to achieving the right texture and consistency for your cookies. Different methods of mixing create unique textures and are suited to specific types of cookies:
- Creaming: A standard method for cookies where butter and sugar are beaten together to create air pockets, resulting in light and tender cookies.
- Folding: Gently incorporating ingredients, often used for delicate or textured doughs, to avoid deflating the mixture.
- Blending is a quick and simple method for combining ingredients without incorporating too much air. It is typically used for dense cookies like shortbread.
Common Mistakes and How to Avoid Them
- Overmixing: Overworking the dough can result in tough cookies. Mix just until the ingredients are combined.
- Incorrect Order: Adding ingredients out of sequence can affect the dough’s consistency. Follow the recipe’s order carefully.
- Skipping Ingredient Preparation: Failing to soften butter or measure accurately can lead to uneven mixing. Prepare all ingredients beforehand for a smooth process.
The Creaming Process
What It Is and Why It Matters
Creaming is beating butter and sugar together to incorporate air into the mixture. This creates a light and fluffy base, ensuring cookies have a tender texture and a good rise. The quality of creaming can directly impact the final product.
Step-by-Step Guide
- Start with Room-Temperature Butter. Butter that is too cold will not won’t cream properly, while overly soft butter may not hold air pockets.
- Combine Butter and Sugar: Beat the butter and sugar on medium speed with a stand mixer or handheld mixer.
- Beat Until Light and Fluffy. The mixture should change color (becoming pale) and increase in volume. This typically takes 2-3 minutes.
- Add Eggs Gradually: Introduce eggs one at a time, beating well after each addition. This ensures the mixture remains smooth and emulsified.
Incorporating Wet and Dry Ingredients
Achieving the Perfect Consistency
Adding wet and dry ingredients alternately helps maintain balance in the dough, preventing it from becoming too dry or too moist. Proper mixing techniques ensure a consistent texture and avoid overdevelopment of gluten, making cookies challenging.
The Role of Timing During Mixing
- Start Slow: Begin mixing at a low speed to prevent ingredients from splattering.
- Alternate Additions: Gradually add dry ingredients (like flour and baking soda) and wet ingredients (like milk or vanilla) in small portions. Alternate between them to ensure an even distribution.
- Mix Until Just Combined: Stop mixing when the ingredients come together. Overmixing at this stage can lead to dense cookies.
Step 3: Letting the Dough Rest
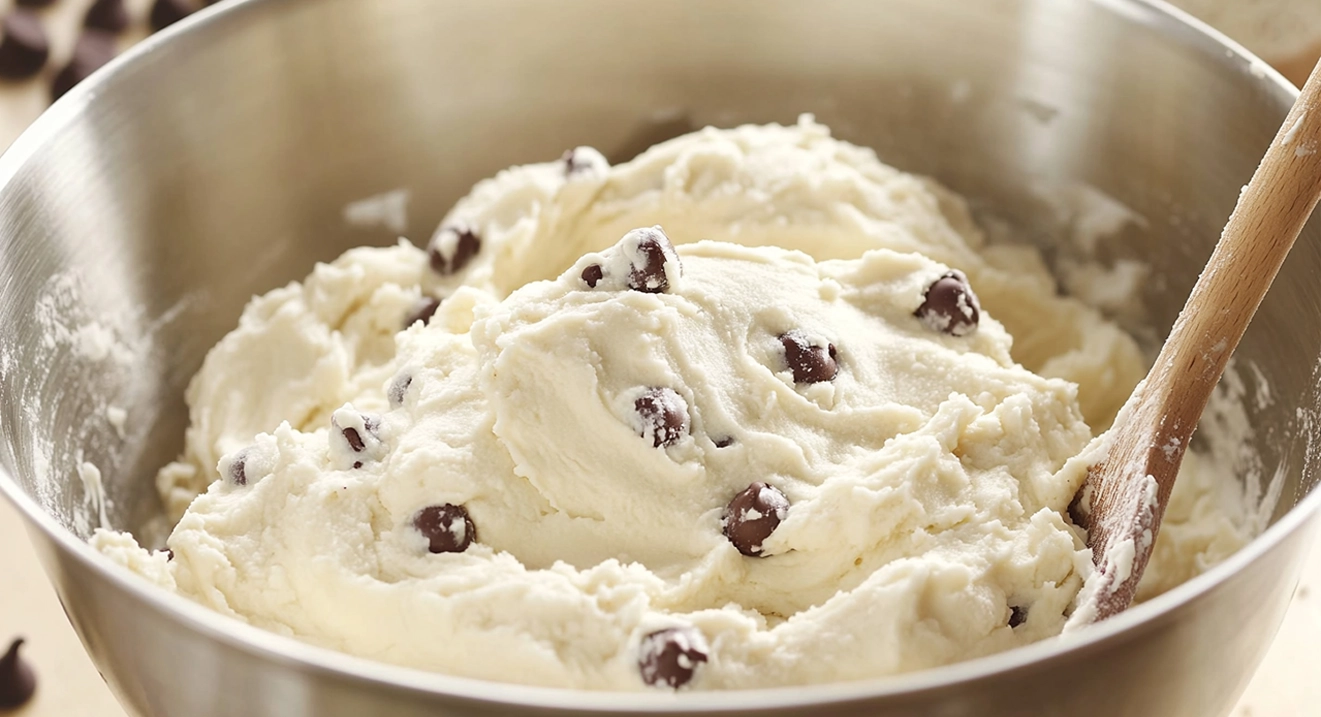
The Science Behind Chilling Dough
Resting cookie dough, often by chilling it in the refrigerator, is crucial for many recipes. This process allows the ingredients to hydrate fully and the fats to solidify. The result is better control over how the cookies spread during baking and an overall improvement in flavor and texture. Chilling also helps the dough hold its shape, making it easier to handle and portion.
How Long to Rest Your Dough for the Best Results
The ideal resting time varies depending on the recipe, but here are some general guidelines:
- 30 Minutes: Improves the dough’s firmness and makes it easier to handle.
- 1-2 Hours: Allows the butter to solidify, controlling the spread and resulting in chewier cookies.
- Overnight (8-24 Hours): This enhances flavor as the sugar absorbs moisture and the ingredients meld together. It is ideal for recipes like chocolate chip cookies, where depth of flavor is desired.
Benefits of Resting the Dough
Enhanced Flavor
Resting the dough allows the ingredients to blend and develop, deepening the cookie’s flavor profile. When baked, sugar absorbs moisture from the surrounding ingredients, creating a more caramelized and complex taste.
Improved Texture
Chilling solidifies the Fat in the dough, reducing its spread during baking. This results in thicker, chewier cookies with a crisp edge and a soft center. Hydrated flour creates a more cohesive dough and smoother, consistent texture.
Step 4: Shaping the Cookies
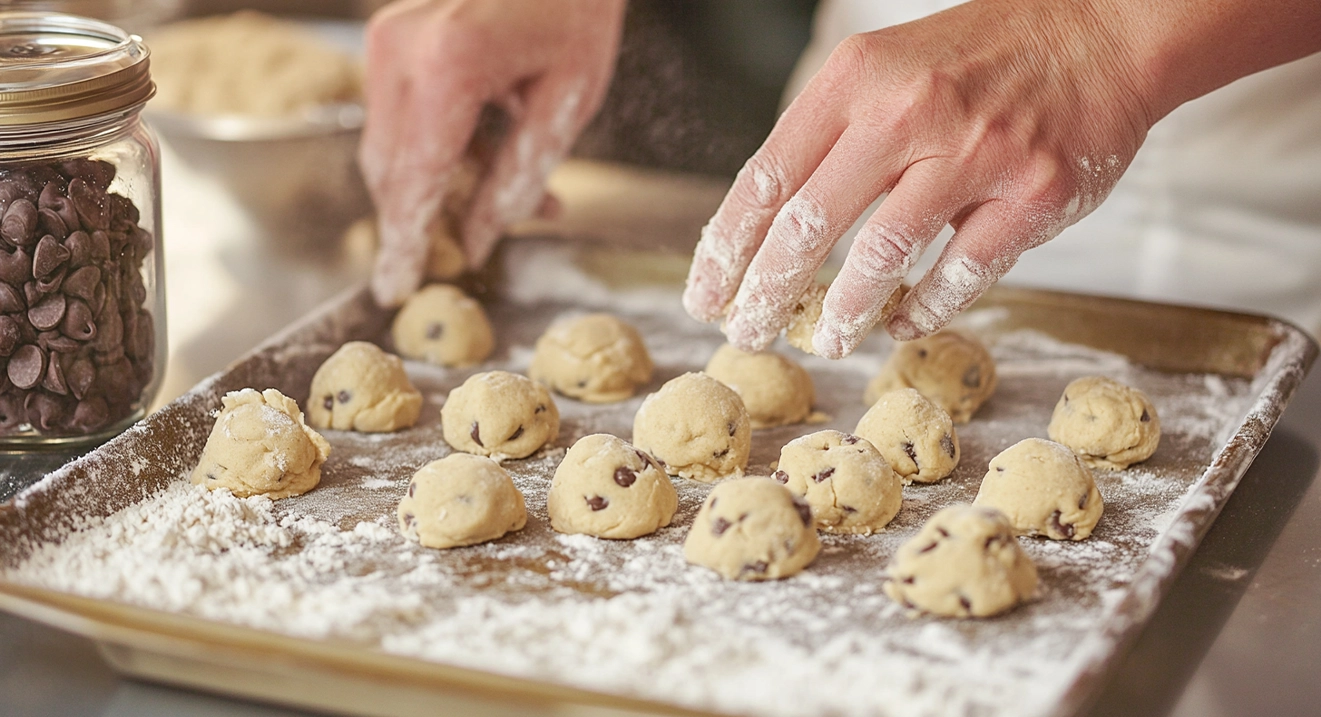
Various Shaping Techniques
Shaping cookie dough is where creativity meets technique. The method you use depends on the type of cookie you’re making and the desired final appearance:
- Hand-Rolled: This method is perfect for cookies like snickerdoodles or peanut butter cookies. Roll the dough into evenly sized balls by hand, optionally coating them in sugar or flattening them with a fork for texture.
- Dropped: Ideal for quick, rustic cookies like chocolate chip. Use a spoon or cookie scoop to drop dollops of dough onto the baking sheet for uniform sizes.
- Cut-Out: This method is best for sugar or gingerbread cookies. Roll the dough flat and use cookie cutters to create precise shapes, perfect for themed or decorative cookies.
Tools That Make Shaping Easier
- Cookie Scoops: Ensure uniform sizes for even baking. Available in various sizes to suit different recipes.
- Rolling Pin: Essential for rolling out dough evenly for cut-out cookies.
- Pastry Mat or Silicone Mat: Provides a non-stick surface for rolling and shaping.
- Cookie Cutters: Available in endless shapes and sizes, perfect for creating festive or themed cookies.
- Forks and Glasses help add patterns, like crisscross marks on peanut butter cookies or a decorative pressed texture.
Creative Cookies Shapes
Ideas for Themed or Festive Cookies
- Seasonal Themes: Use cutters shaped like snowflakes, pumpkins, or hearts for holiday or seasonal celebrations.
- Letters and Numbers: Great for birthdays, anniversaries, or special occasions.
- Animals and Characters: Perfect for kids’ parties or themed events.
- Geometric Shapes: Triangles, squares, or hexagons offer a modern aesthetic.
Using Cookie Cutters Effectively
- Chill the Dough: Cold dough is easier to cut and maintains its shape better during baking.
- Flour the Cutter: Lightly dust the cookie cutter with flour to prevent sticking.
- Press Firmly: Push the cutter straight down without twisting to achieve clean edges.
- Reuse Scraps: Gather leftover dough, reroll, and cut additional shapes. To maintain texture, avoid overworking the dough.
Step 5: Baking the Cookies

Preheating the Oven: Why It’s Essential
Preheating the oven ensures consistent baking results by providing a stable temperature from the start. When cookies are placed in a preheated oven, they bake evenly and develop the desired texture—a soft center, crispy edges, or a chewy bite. Starting in a cold oven can cause uneven baking, undercooked centers, or overly dry exteriors.
Tips for Preheating:
- Allow the oven to reach the specified temperature before placing your cookies inside.
- Use an oven thermometer to verify accuracy, as many ovens run slightly hotter or more remarkable than the dial indicates.
- Avoid frequent door opening during baking to maintain a stable temperature.
Tips for Even Baking and Monitoring Progress
- Use the Right Bakeware: Light-colored, non-stick baking sheets prevent over-browning and promote even baking. Dark or old pans can cause cookies to overbake on the bottom.
- Line Your Sheets: Use parchment paper or silicone baking mats to prevent sticking and promote even heat distribution.
- Position in the Oven: Place baking sheets in the center rack for optimal air circulation. If baking multiple trays, rotate them halfway through for uniform results.
- Check for Doneness: Look for visual cues like golden edges or slightly firm tops. Remove cookies from the oven a little before they seem entirely done, as they will continue to cook on the tray.
Adjusting Baking Times and Temperatures
How to Prevent Underbaking or Overbaking
- Underbaking: Ensure the oven is fully preheated and follow the recipe’s recommended time. If the centers are consistently undercooked, extend the bake time by 1-2 minutes.
- Overbaking: Remove cookies when the edges are golden, and the centers are set but soft. Observe during the last few minutes to avoid overly crisp cookies.
Pro Tip: Know Your Oven
Every oven is slightly different. Test with a small batch of cookies first to determine if your oven requires adjustments.
Baking at High Altitudes
The lower air pressure can affect baking at higher altitudes, causing cookies to spread faster and bake faster. Adjustments may be needed:
- Reduce Sugar: Decrease the sugar slightly to minimize spreading.
- Increase Flour: Add 1-2 tablespoons of flour to help stabilize the dough.
- Adjust Oven Temperature: To prevent over-expansion, increase the temperature by 15–25°F (5–10°C) and shorten the baking time slightly.
Step 6: Cooling and Storing the Cookies
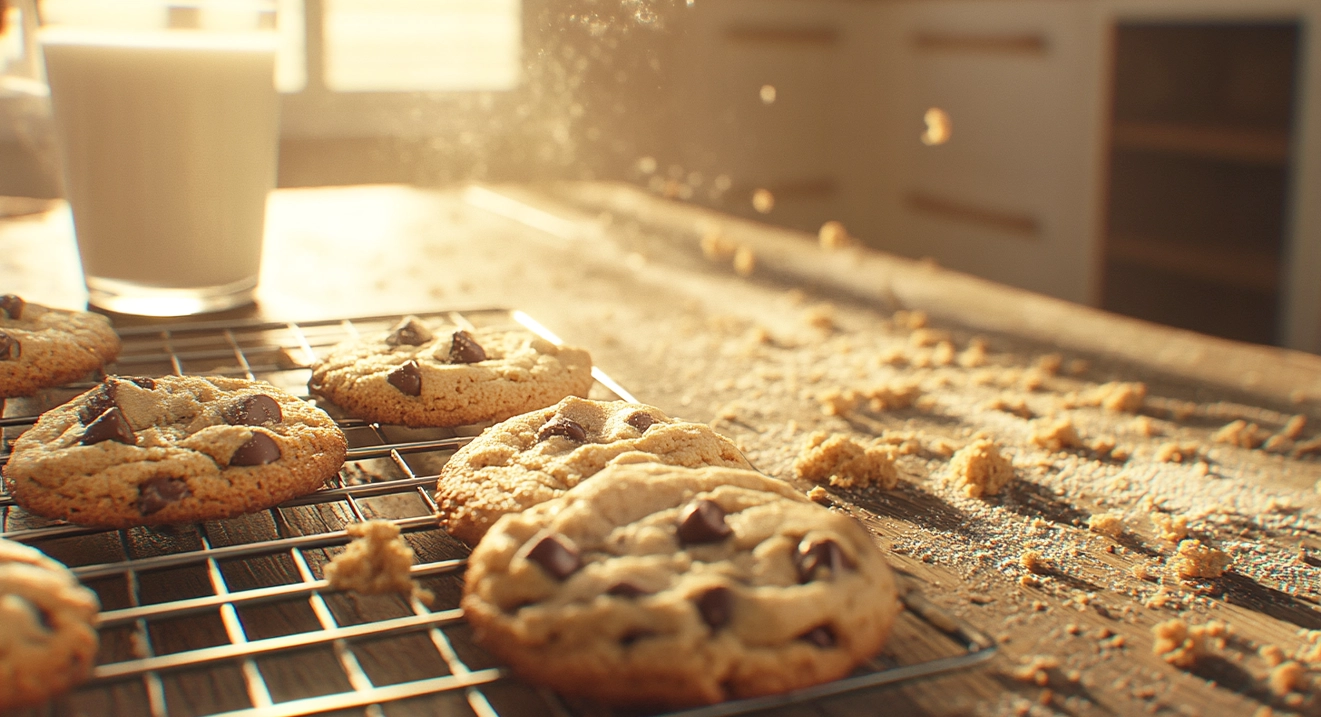
Cooling Racks: A Baker’s Best Friend
Proper cooling is essential to preserving cookies’ texture. A cooling rack allows air to circulate the cookies, preventing the bottoms from becoming soggy and ensuring even cooling. Transfer cookies to the rack a few minutes after removing them from the oven to avoid breaking them while they’re still fragile.
Preventing Sogginess During Storage
Proper storage is key to maintaining cookie freshness. Allow cookies to cool completely before storing them. Storing warm cookies traps steam in the container, leading to sogginess. If stacking cookies, layer them with parchment paper to keep them from sticking together.
Proper Storage Techniques
Choosing the Right Container
- Airtight Containers: Ideal for soft cookie to retain moisture and keep them chewy.
- Loosely Covered Containers: Perfect for crispy cookies to maintain their crunch.
Freezing Cookies for Long-Term Enjoyment
- Freezing Baked Cookie: Arrange a single layer on a baking sheet to freeze before transferring to an airtight container or freezer bag. This prevents them from sticking together.
- Freezing Cookie Dough: Portion into individual balls or shapes and freeze on a tray before storing. Bake directly from frozen, adding a minute to the bake time.
Reheating for Freshness
Reviving Cookies After Storage
- Microwave: Heat cookies for 5-10 seconds to soften and refresh.
- Oven: Warm in a low-temperature oven (300°F/150°C) for 5-7 minutes to restore crispness.
Methods for Maintaining Flavor and Texture
- Add a slice of bread or apple to the storage container to moisten the cookies.
- Store with a silica gel packet or in a cool, dry place for crisp cookies.
Step 7: Decorating and Serving Your Cookies
Popular Decorating Techniques
Decorating cookie is where creativity truly shines. Whether you add simple sprinkles or intricate designs, decoration enhances the appearance and appeal of your cookies.
Pairing Cookie with Complementary Drinks or Snacks
- Milk: A classic pairing for rich, chocolatey cookies.
- Coffee or Tea: Ideal with subtly sweet or spiced cookies like gingerbread or shortbread.
- Ice Cream: Sandwich cookies around a scoop for an indulgent dessert.
- Fruit or Cheese: Pair lightly sweet cookies with fresh fruit or creamy cheeses for an elegant presentation.
Simple and Advanced Cookies Decorating Techniques
Using Icing, Sprinkles, and More
- Simple Techniques:
- Drizzle melted chocolate or glaze over cookies for an effortless finish.
- Sprinkle with sanding sugar, nonpareils, or edible glitter for a festive touch.
- Advanced Techniques:
- Use royal icing to pipe intricate designs or create detailed patterns.
- Create multi-layered decorations with fondant or edible paint.
Tools for Detailed Cookie Art
- Piping Bags and Tips: Essential for precision when working with royal icing.
- Stencils: Perfect for creating consistent patterns or themed designs.
- Food Coloring Pens: Great for adding fine details or lettering.
FAQs About Cookies Making
What Are the 7 Basic Ingredients in All Cookies?
- Flour: Provides structure to the cookies.
- Sugar: Sweetens the dough and affects texture (granulated for crispness, brown for chewiness).
- Butter (or Fat): Adds richness and contributes to texture.
- Eggs: Bind the ingredients and add moisture.
- Leavening Agents include baking soda or baking powder to help cookies rise or spread.
- Salt: Enhances flavor and balances sweetness.
- Flavorings: Like vanilla, chocolate, or spices, to give cookies a unique taste.
How to Make Cookies in 5 Steps?
- Prepare the Ingredients: Measure and gather all ingredients to ensure a smooth workflow.
- Mix the Dough: Combine ingredients using appropriate methods like creaming or blending.
- Shape the Cookie: Use techniques like rolling, dropping, or cutting out shapes.
- Bake the Cookie: Preheat the oven, bake at the correct temperature, and monitor closely.
- Cool and Store: Transfer cookies to a rack to cool and store properly to maintain freshness.
What Are 7 Layer Cookies Made Of?
Seven-layer cookies, also known as magic bars, are a decadent dessert made from layers of delicious ingredients. Common components include:
- Graham Cracker Crumbs: Forms the base layer, often mixed with melted butter.
- Butter: Binds the crust and adds richness.
- Sweetened Condensed Milk: Adds sweetness and holds the layers together.
- Chocolate Chips: For a rich, chocolatey flavor.
- Butterscotch Chips: Adds a caramel-like sweetness.
- Shredded Coconut: Provides texture and a tropical flavor.
- Chopped Nuts: Adds crunch and balances the sweetness.
What Are the 8 Methods of Forming Cookies?
- Drop Cookie: Dough is spooned or scooped and dropped onto a baking sheet (e.g., chocolate chip cookie).
- Rolled Cookie: Dough is rolled out and cut into shapes using cookie cutters (e.g., sugar cookie).
- Hand-Formed Cookie: Dough is shaped by hand into balls, logs, or other forms (e.g., snickerdoodles).
- Pressed Cookie: Dough is pushed through a cookie press to create intricate shapes (e.g., spritz cookie).
- Bar Cookies: The dough is spread into a pan and baked in a single layer, then cut into bars (e.g., brownies).
- Refrigerator (Icebox) Cookie: Dough is chilled, sliced, and baked (e.g., pinwheel cookies).
- Molded Cookie: Dough is pressed into a mold or shaped using tools for decorative designs (e.g., speculates).
- No-Bake Cookie: Ingredients are combined and set without baking (e.g., oatmeal chocolate no-bakes).
Conclusion
Recap of the Seven Steps
Baking cookie is a delightful journey that combines science, art, and a dash of creativity. Let’s revisit the seven key steps to cookie-making success:
- Preparing Your Ingredients: Start with quality ingredients and measure them accurately for the best results.
- Mixing the Dough: Master techniques like creaming, folding, and blending to achieve the perfect texture.
- Letting the Dough Rest: Enhance flavor and texture by chilling the dough when necessary.
- Shaping the Cookie: Use various shaping methods and tools to create cookies that are as beautiful as they are delicious.
- Baking the Cookie: Preheat your oven, monitor baking times, and follow techniques to ensure even baking.
- Cooling and Storing the Cookie: Use cooling racks and proper storage techniques to maintain freshness and flavor.
- Decorating and Serving: Elevate your cookies with creative decorations and pairings that suit any occasion.
